Installing the heat exchanger for the gethermal heat pump
Here is a sequence showing how we installed the heat exchanger and tubing for our geothermal heat pump (GHP). Two 1.25" poly tubes circulate a mixture of water and methyl alcohol from the unit in our basement out underground to the stainless-steel heat exchanger submerged in the pond. For cooling, the GHP extracts heat from the house and puts it into the fluid where it is "dumped" into the pond via the heat exchanger, and returns cooler. Since the water is already fairly cool, this is very efficient, even if the GHP uses refrigeration methods to augment the cooling.
For heating, the fluid picks up heat -- albeit at perhaps only 36-40F in winter -- from the pond water, and then extracts heat from it using much the same principle as a refrigerator in reverse. The GHP needs to raise the temperature from the fluid temperature to whatever our thermostat is set to -- say 75F. Unlike a conventional furnace where combustion heats the air quite substantially, the GHP hot air flue is only somehat warmer than the setting, and relies on exchanging a lot of slightly-warmer air to reach the desired temperature. This means there is much more air exchange, but since it is not so hot, the humidifier works much better, and the whole system reduces the tendancy to have hot and cold areas in the house during the heating season.
As a side benefit, the GHP is plumbed in to an electric water heater, and excess heat from the system's operation is run through a "superheater" to provide hot water. In the shoulder season -- when we are not using much of either heating or cooling, the water heater functions normally by electricity.
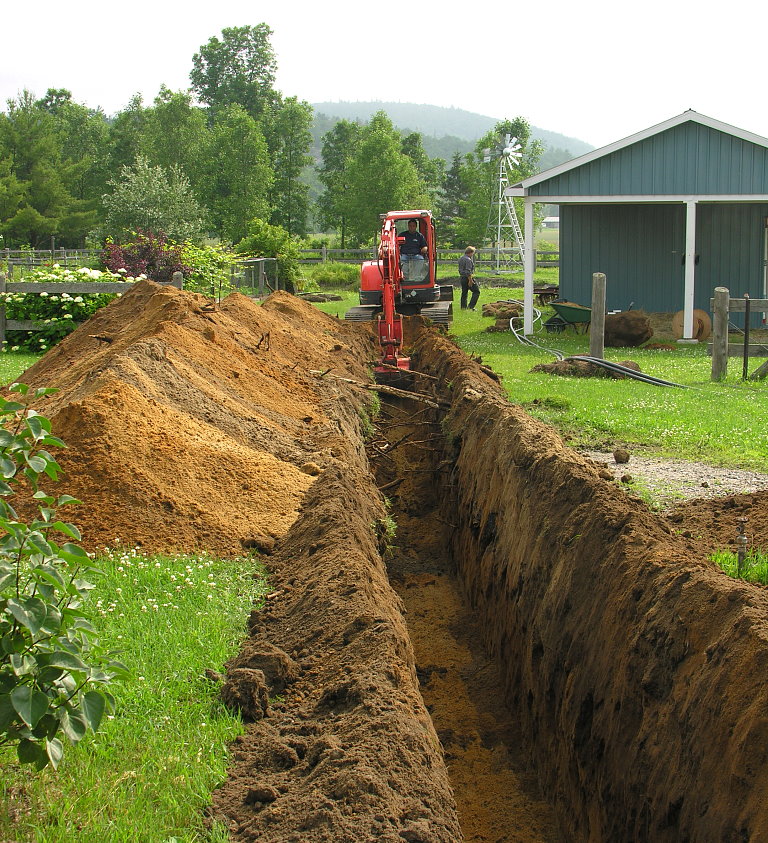
DSCN6823sm.JPG; 267.74 KB
View of the trench to take the heat pump tubing to the pond. 29 June at 09:30.

DSCN6831sm.JPG; 240.67 KB
View from the windmill, 29 June at 10:00. The heat exchanger is on the left, and the two tubes extending from it will be placed in the trench.
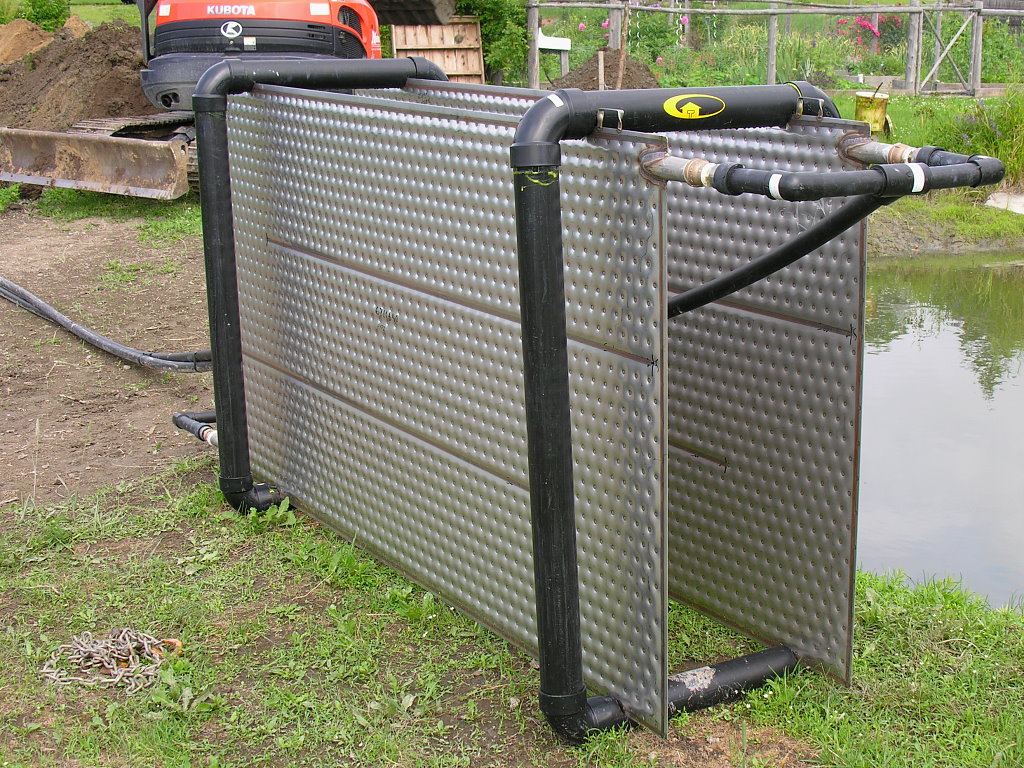
DSCN6833sm.JPG; 320.50 KB
Closeup of the "Slim Jim" heat exchanger: the two panels are 4x8' and are connected to the tubes with an intake and outlet manifold. The fluid (water + methyl alcohol) flows in and makes its way in an "S" through the stainless-steel quilting before returning to the house at close to the pond's temperature.
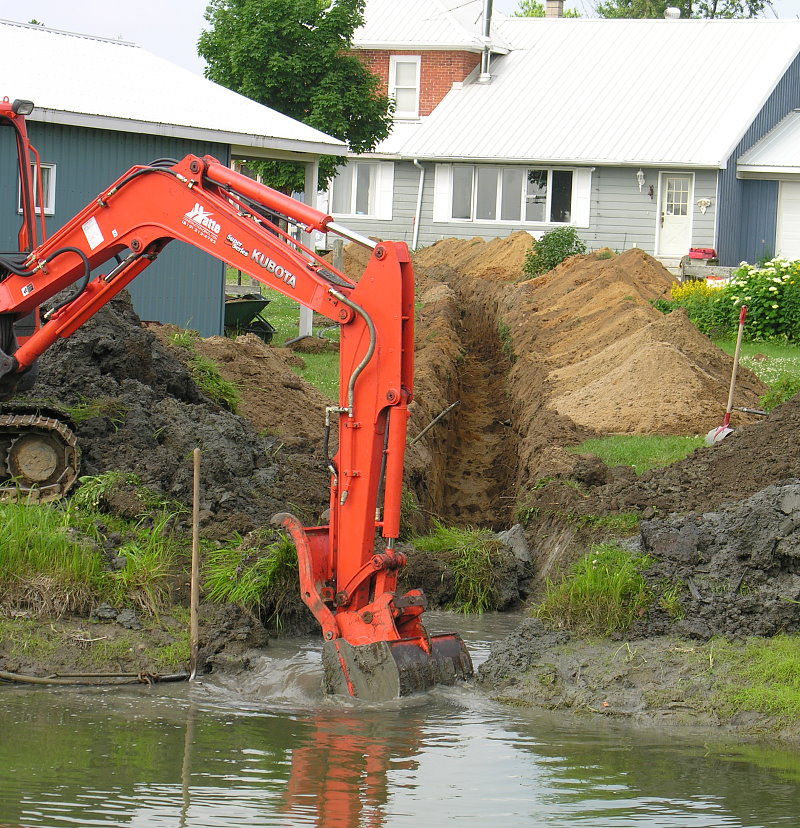
DSCN6838sm.JPG; 252.45 KB
The trench is lower than the pond level, so we left a small section to hold back the water as we started to lay the tubes. The first part of the trench was then backfilled, and the dam cut open to lay the tubes to the house.
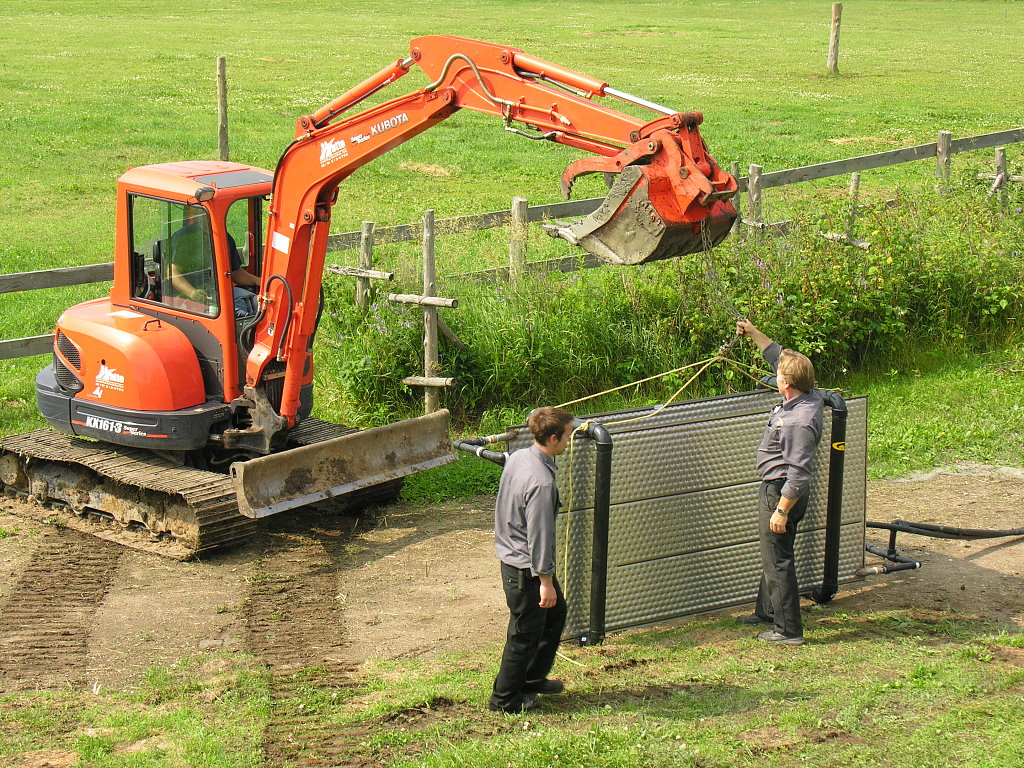
DSCN6846sm.JPG; 376.23 KB
The heat exchanger is not particularly heavy, but it needed to be placed vertically as far out as possible. 29 June 10:10.
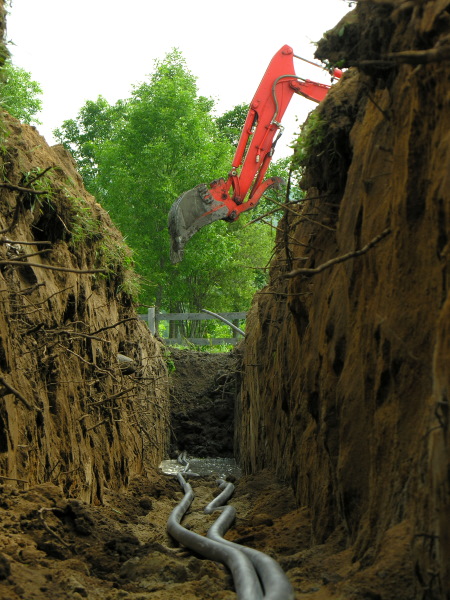
DSCN6857sm.JPG; 134.40 KB
View of the trench with the tubing laid. The excavator is now filling the trench. 29 June 10:30.
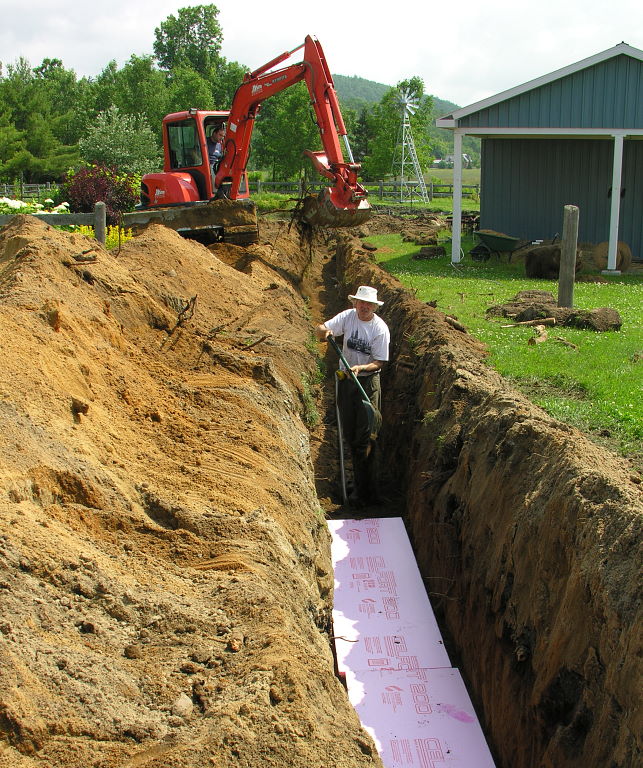
DSCN6868sm.JPG; 184.07 KB
Eric is placing 2" foam panels over the tubes where it goes under the driveway. Since winter frost can go as much as 6' down with no snow cover, this will stop it, and allow the ground heat below to keep the tubing warmer.
DSCN6889sm.JPG; 210.54 KB
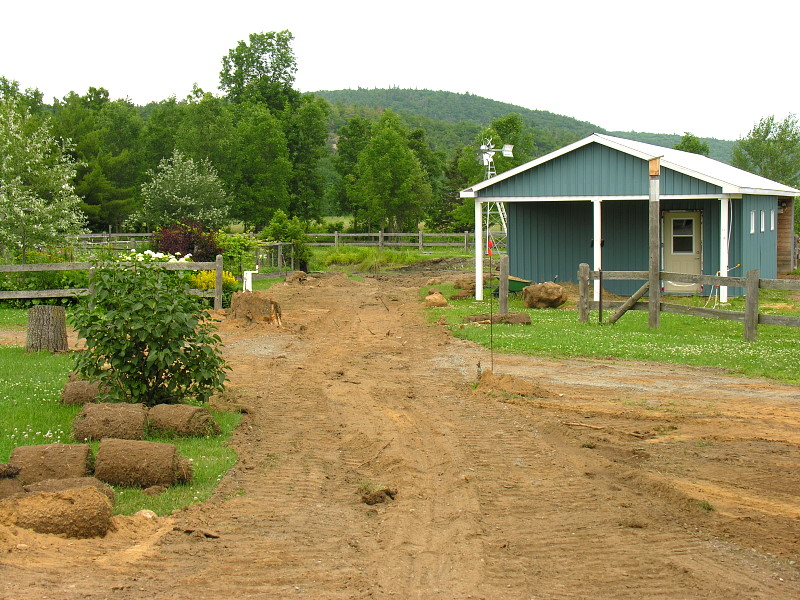
By 15:00, everything was hooked up and the house was noticeably cool! Now the landscaping begins!
Home -- Modifying the pond and dam -- Here --